Stiffler
Scientific 
Copyright
2007-2011 Stiffler Scientific. All rights reserved.
Revised: 01/13/2008
PMC - Poor Mans Calorimeter
About $25 if you don't have a thermometer, otherwise $6-$7
Copper material available from your local Home Improvement Store
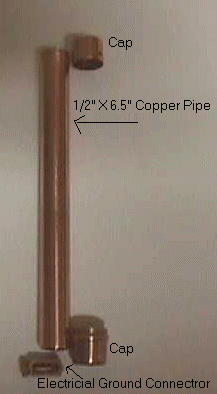
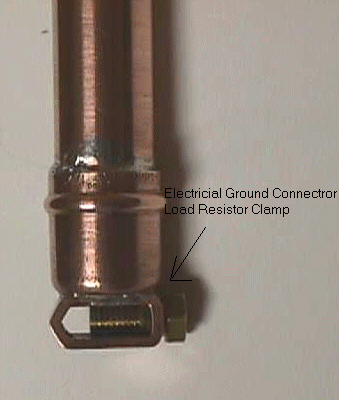
Solder on the end cap and then solder the ground connector to
the cap. Be sure
not to break the seal on the end cap or you will have a
water leak.
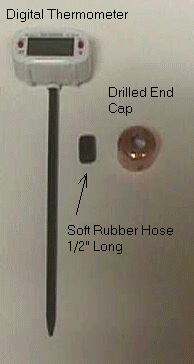
There are many different thermometers on the market, including
the standard
glass type. Settle on the type you will use and drill a hole in
the second end cap
to match the hose diameter you will be using. The
thermometer should fit snuggly
into the small hose insulator.
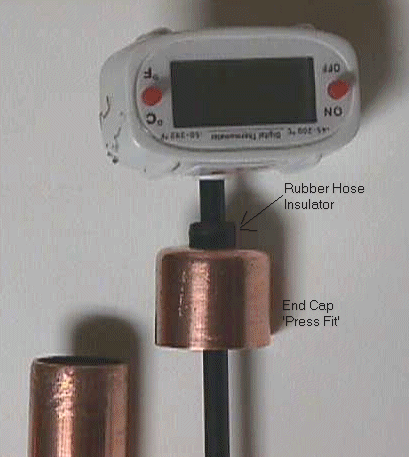
The rubber hose is used to insulate the thermometer stem from
direct contact with
the copper tube. Use steel wool or a fine file and insure
the cap fits for easy removal
from the tube. Once you insulate the tube you
want to be able to change water easily
between runs.
In about 30 minutes the unit is complete and ready for insulation.
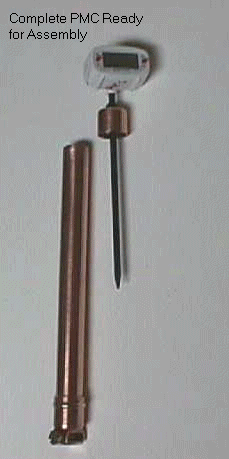
Some other handy things to have are a graduated beaker, flask or
syringe for accurate
filling of you water tube. The tube in this example
holds 25mL for best results.
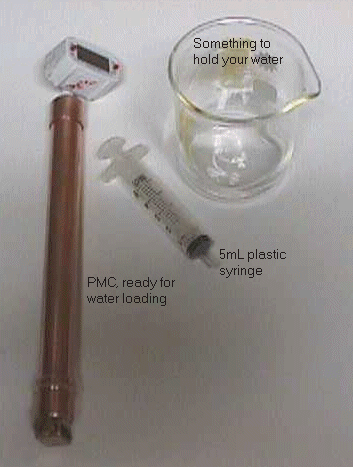
One of the first wraps that was later improved upon as shown in
the next
picture.
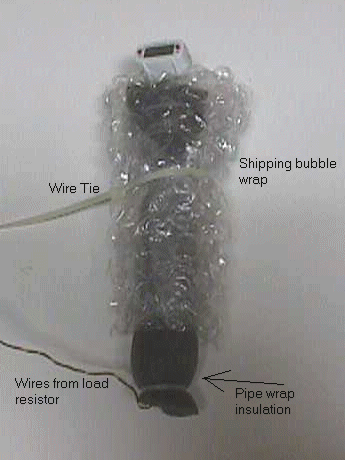
How I place the carbon load resistor in the ground clamp and
connect to the
input leads with a small plastic screw terminal connector. If
you have heat sink
compound, cover the resistor. If you do not have heat sink
compound use standard
Petroleum Jelly, this will work fine. Also if you use a
1/2W resistor you may want
to place a small copper strip between the
connector screw and the resistor to obtain
better thermal contact.
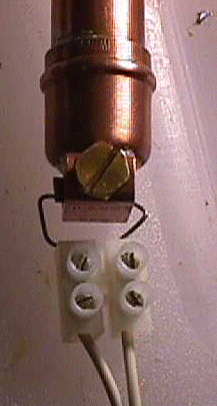
An improved insulation method is to use multiple (larger) sizes
of pipe wrap, which is
also available from Home Improvement Stores. Use wire
ties to secure the layers and a thick
soft foam top through which the
thermometer fits into the tube.

|
Calibration You don't really need to calibrate the device if you are only looking for a COP=>1.5. To insure a meaningful reading you only need to run the test for 2-3 hours or more, depending on the output of your SEC driver. Calculations This is probably the simplest of ways to test a SEC driver into a carbon load resistor for excess Heat. You only need to know your input voltage and current from your power supply and the start and end temperatures of the cell with the length of time in hours the test ran. Calculate your steady state input to the driver; Pin = (Vs * Is )/thours Vs = power supply
voltage Calculate the power out from the SEC driver; Pout(W/Hr) = ( c * m * deltaT * 1.1622E-3 ) / thours c = specific
Heat, for water =1.0 The driver COP; COP = Pout / Pin *Do Not allow your cell
temperature to exceed 50 'C ( 122'F ) as the pipe wrap begins to melt and
gets very gummy. |